Uses
The FR1 crystal clear epoxy resin system is applied in numerous applications. In this way, it is used on restaurant tables, bar tops, wood crafts, canvas art, domino tables, tables with bottle caps, poker tables, countertops, the very popular today river tables, etc. The possibilities are endless and easy to use.
For first time users of the FR1 system, we recommend first doing a short practice test to familiarize yourself with how it works. You will find guidelines in this section and more tips in the product FAQ section.
CALCULATE
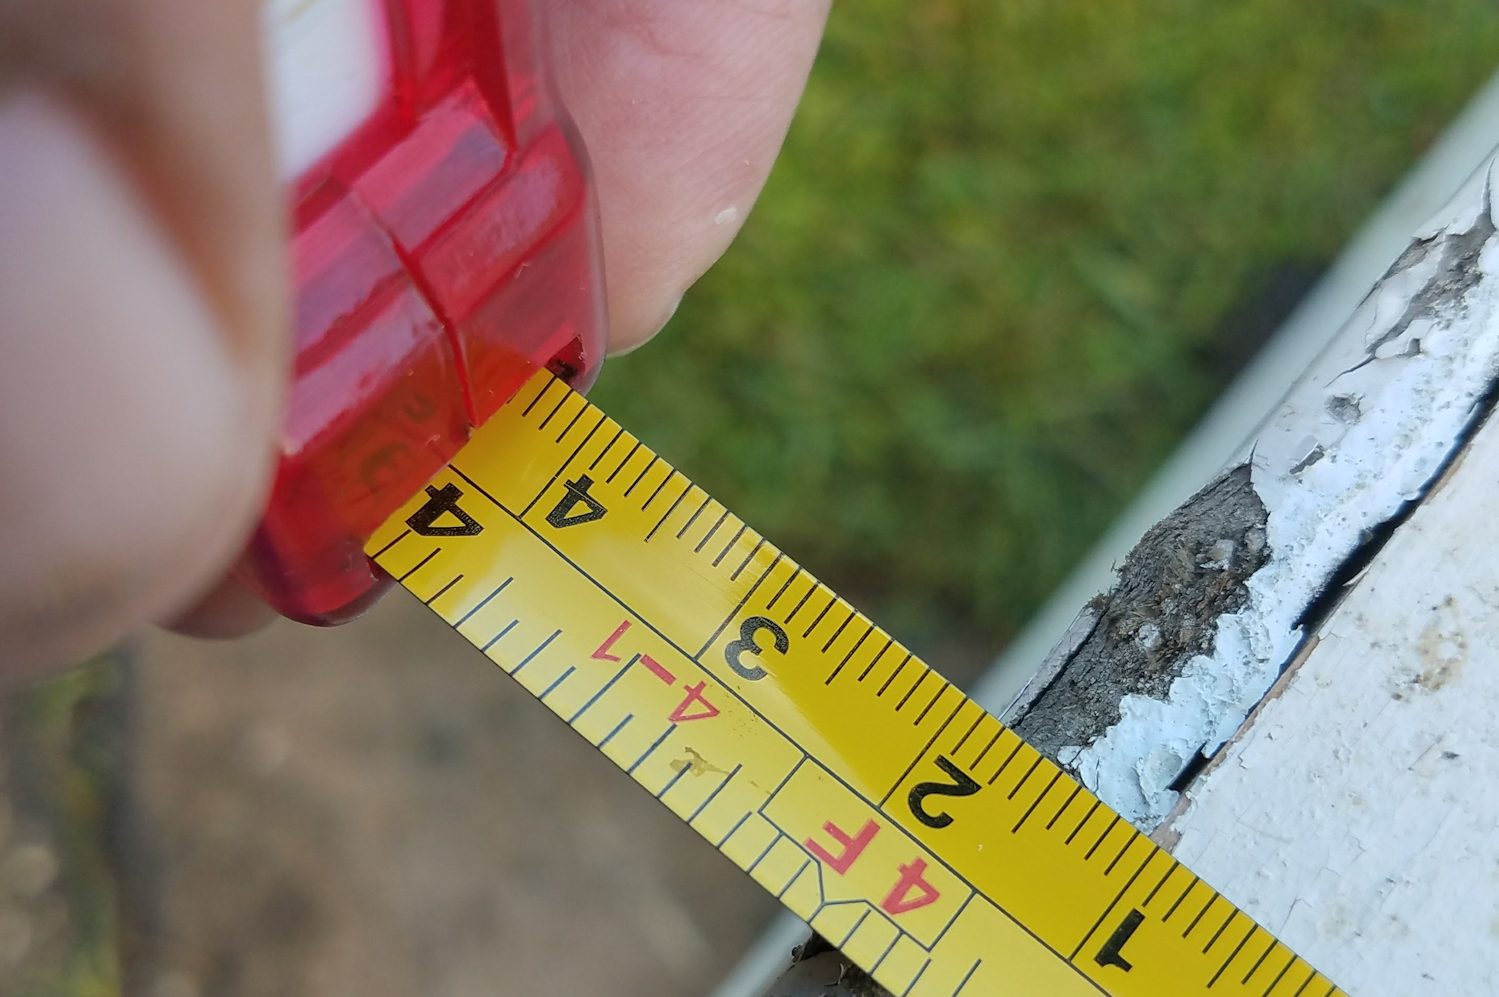
How much FR1 Crystal Clear epoxy should you buy? This depends on the size of the flat and leveled surface you wish to apply the mixture to. First, measure the length and width in feet and then multiply these two numbers to calculate the square footage. i.e. a table that measures 4 ft. x 6 ft. = 24 sq. ft. You can use our APPLICATION CALCULATOR to help you.
To estimate how much you’ll need for the seal coat: divide the square footage by 48.
i.e. 24 sq. ft. ÷ 48 = 0.5
To estimate how much you’ll need for the flood coat: divide the square footage by 16.
i.e. 24 sq. ft ÷ 16 = 1.5
Now you add both results and you get 2. This means you’ll need at least 2 gallons (1 gal. resin/1 gal. hardener) of the FR1 Crystal Clear epoxy resin to do one seal coat and one flood coat. If you need to do two flood coats, then multiply the result for the flood coat by 2. i.e. 1.5 x 2= 3 + 0.5 (seal coat)= 3.5 gallons of FR Crystal Clear Epoxy.
WARNING: This is just an estimate, so keep in mind that this leaves no room for waste or any mistakes. We highly recommend ordering a little more than what is estimated.


SEAL COAT VS. FLOOD COAT
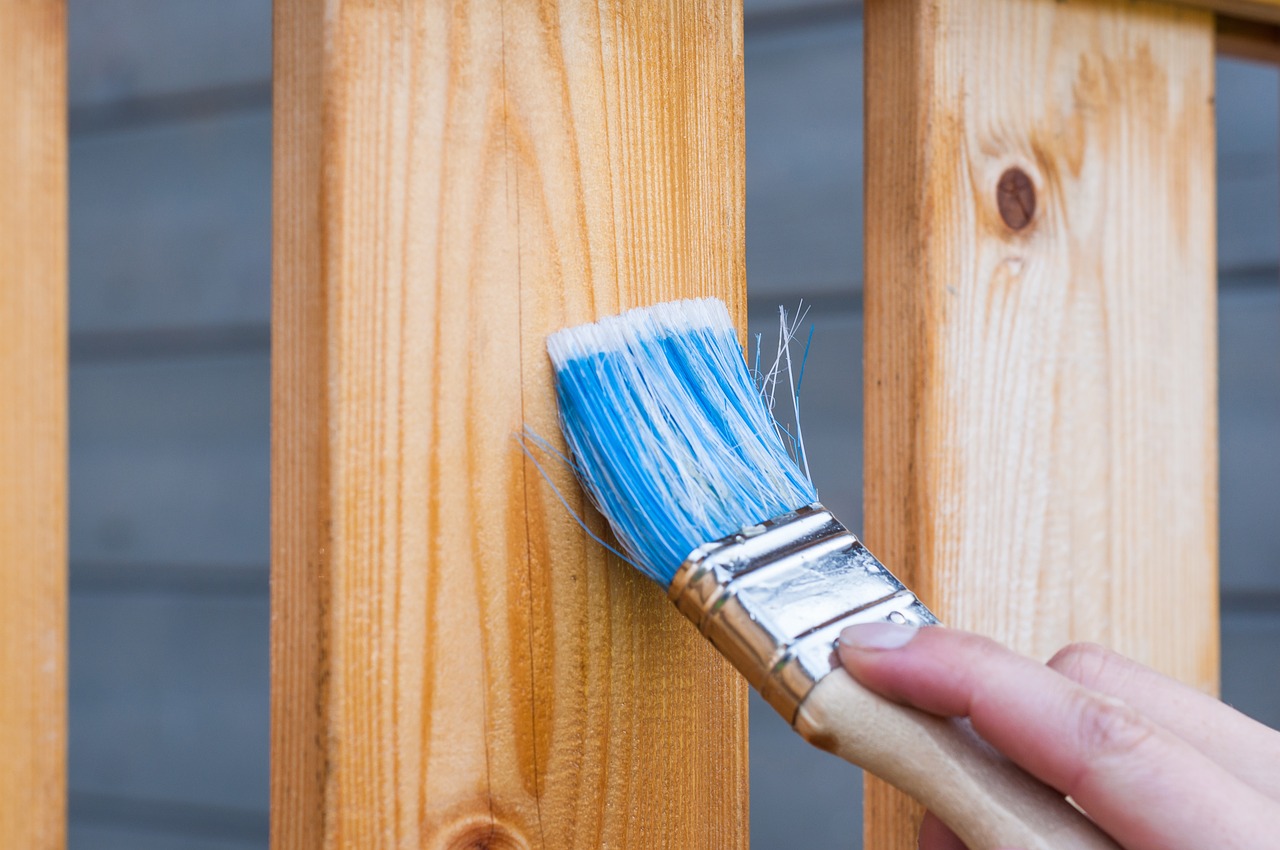
The seal coat is a thin brushed on layer that is used to seal wood surfaces. You don’t want any air bubbles coming up when you pour your first flood coat. NOTE: For most applications the wood surface on the bar or table should be sanded first, cleaned and dust free before applying the seal coat. Keep in mind that very porous woods, such as barn wood, may require several seal coats. In this case, you may be better off using a polyurethane to seal the wood, since it’s not as easily absorbed as the epoxy. If you use polyurethane, please wait 48 hours before you pour your first flood coat of epoxy resin. The flood coat is poured and self-levels at approximately 1/8” thickness. If depths thicker than 1/8” are desired, multiple coats are necessary. However, keep in mind that after ½” thickness, the epoxy will have a slight amber color to it. Also, you must wait at least 4 hours between each epoxy seal coat and each additional flood coat. You want the surface to still be tacky, when you apply each coat. If the seal or flood coat dried before you could apply your additional coat or if you’re using stains, please read our Product FAQs for further guidelines.
Note: Not all surfaces require a seal coat. If you’re not sure, feel free to ask us by e-mail or call us.
MIXING
Safety Precautions: Gloves should always be worn when working with epoxy. This product is nontoxic and safe for indoor use because it has virtually no odor. Product may be harmful to skin so proper eye and skin protection should be worn at all times.
These two products are mixed together at a 1:1 ratio by volume. It’s very important to measure and mix these two components properly. Make sure to use clean, graduated mixing containers to properly measure out equal amounts of resin and hardener. Do NOT vary this ratio, epoxies are formulated to cure at a certain mixing proportion and any variances can cause the product to never fully cure. For beginners, we recommend mixing only 2 quarts at a time (1 quart of each part). Once you feel more comfortable with the product, you can do up to ½ gallon of each part. In a separate container (the mixing container), pour in the hardener first and coat all sides of the container and your resin stir stick with the hardener, then add the resin. Continuous mixing is required including sweeping the sides and bottom of the mixing container while mixing and without lifting your stir stick to avoid mixing in air bubbles.
For a 2-quart mixture the mixing time is 4 to 5 minutes.
For a 1-gallon mixture the mixing time is 6 to 7 minutes.
The product may cloud a little during mixing but will clear as mixing nears completion. Mixing must continue until all signs of cloudiness and hazy lines have completely disappeared. Some air bubbles are normal in the mixture; however, do not whip the mixture. Whipping the mix will result in numerous tiny air bubbles which will turn the epoxy completely white with bubbles; this can result in air bubbles remaining in the cured product. It is important to mix without inducing air.
NOTE: If you don’t want to take any chances of under-mixing you can wait until the mixing container starts to become slightly warm to the touch which usually assures a long enough mix. However, this also reduces your working time especially when mixing 1 gallon.
POURING
DO NOT leave large amounts of mixed material in your bucket, this will cause an accelerated chemical reaction due to the heat being generated and your batch can start smoking due to this excess heat. Pour quickly after complete mixing. When pouring the resins onto the surface NEVER scrape or brush out from the container you were just mixing from. Just pour the resin mixture out and leave the remaining material in the container.
For the seal coat we recommend starting at one end and pour the resin the length of the leveled surface. Set the container down and then use a rubber squeegee or a high-density foam brush to drag the resin across the entire surface and achieve an even coat. Please bear in mind you do not want to achieve any buildup with this coat, it is meant only to cover up the grains of the wood. If your seal coat goes on too thick, you can end up with air bubbles staying trapped in the cured epoxy. Now, wait four hours and then you can pour your first flood coat.
For the flood coat we recommend pouring the epoxy in the middle of the leveled table and allowing the epoxy to flow out. For bars, start on one end and pour the resin down the entire length. After you are finished pouring, set the container down. Do NOT try to scrape anything else out of the bucket. Since you poured about 3 times the amount of resin mixture that you did for the seal coat, the material will immediately start to flow out. To help guide it, you may need to use a plastic spreader or a high-density foam brush. Once the surface is covered you will begin to pop any air bubble that might have formed. The best tool for removing the bubble is a small propane torch. By holding the torch gun 6 to 10 inches away from the surface and quickly sweeping across the surface you will begin to see the air bubbles pop. Other tools that can be used to pop the bubbles are a heat gun or a hair drier. However, both tools move air around which increases the risk of dust settling in the coating. It is a good idea to stand by the project for at least 30 minutes after pouring to pop any air bubbles that suddenly appear.
CURING
After applying your final coat, the product should be kept in a clean and dust-free an environment as possible. At 80F degrees, the product takes approximately 12-14 hours to dry to the touch. However, the product should not be put into any type of use for at least 2-3 days which will allow it to achieve enough hardness. At temperatures below 80F degrees, the product will take longer to cure. The first couple of weeks after curing the surface is more prone to scratching, so we recommend the use of coasters and place mats whenever possible. As the product ages its hardness will increase. For additional tips on curing and how to care for your finished product, please visit our Product FAQs.


